In the below example, we show you how to start creating a Zap that is
triggered by a newly purchased vehicle being created. Note: this trigger
only returns an ID. If you want to use vehicle data (rather than just the
vehicle id), it will be important to add Ekho actions in subsequent Zap
steps such as
Fetch Purchased Vehicle Data (using vehicle ID as input) and
Fetch Buyer Data (using buyerId as input fetched from the output of Fetch Purchased Vehicle Data)1
Create a Zap
From your Zapier account, create a Zap with 
Ekho Dealer’s Newly Purchased Vehicle Trigger.2
Sign In
On the account section, click ‘Sign In’.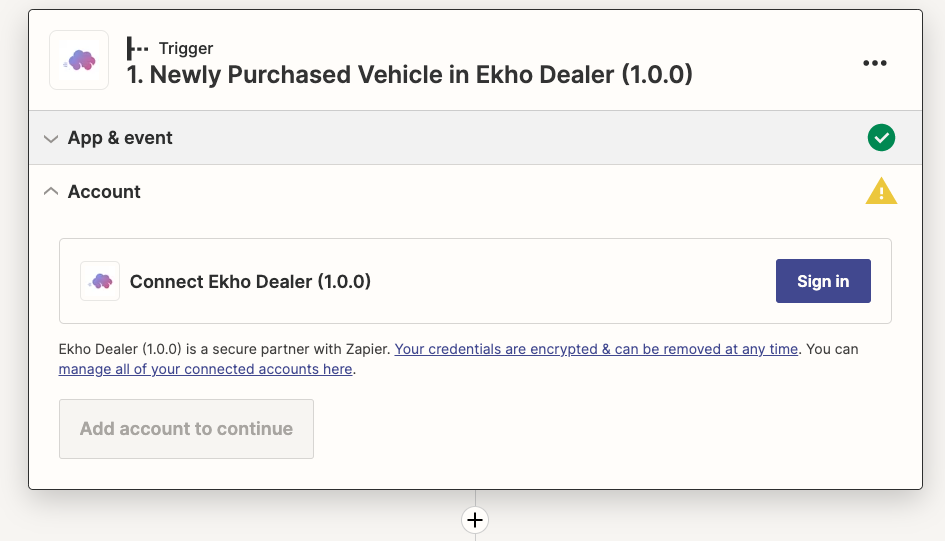
3
Fill in the credentials
Fill in the admin email account, account password, and OEM name that were all generated during the onboarding process.
This information will have been sent to you in an email titled ‘[Important] Your
Ekho Dealer Credentials’ from us.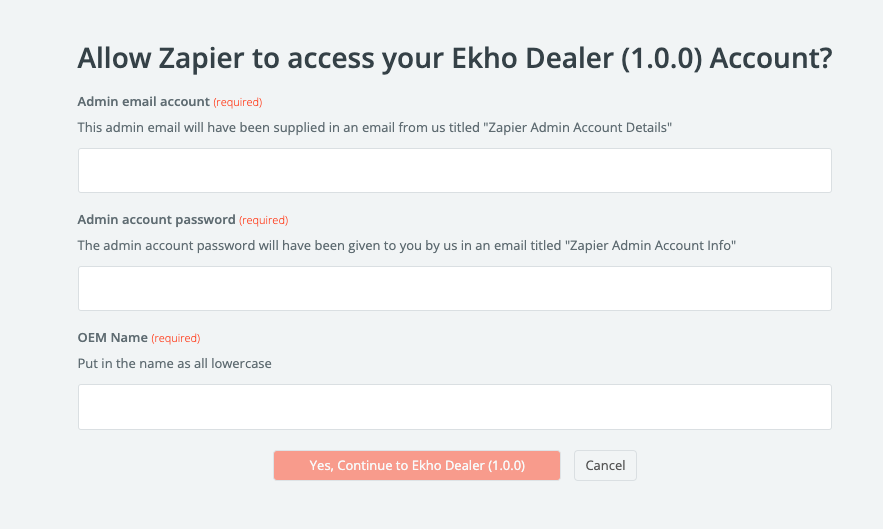
4
Test the trigger
Make sure you test the trigger. If the test fails, reach out to use for support. You should see something similar to the below screenshot: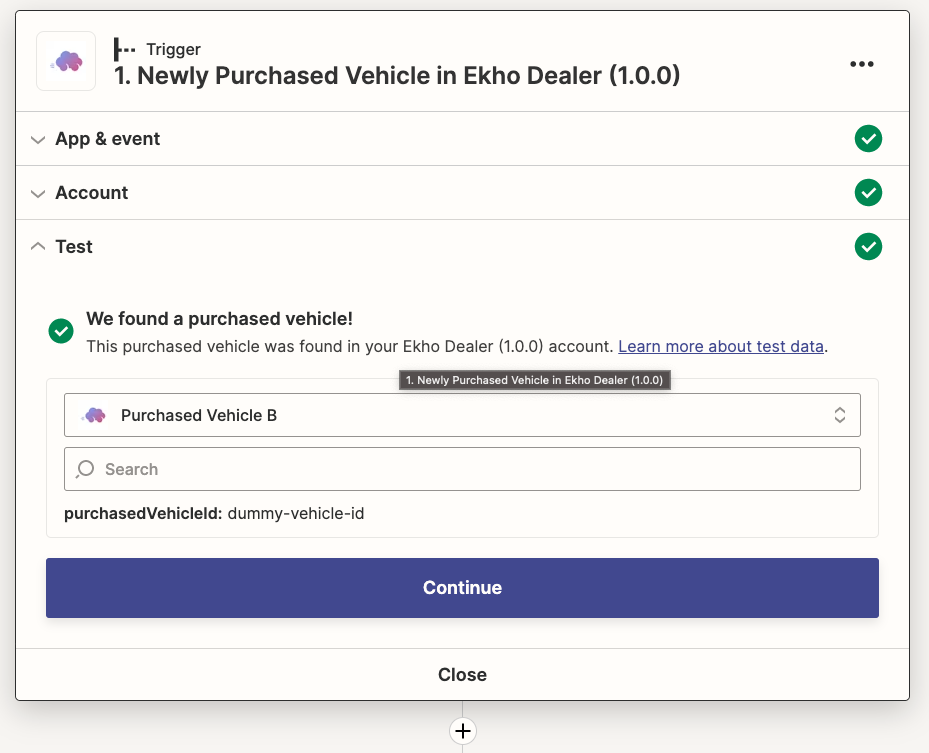
5
Use the purchased vehicle id
Use this purchased vehicle id to call a Zap action, e.g.
Fetch Purchased Vehicle Data.